I get probably 3 emails a day about my cool little bottles.  "What are they?", "How do they work?" and   "Where can I get them?" are the most common questions.

So, today I am going to show you my cool little bottles and tell you where to get your own.

I pretty much use three different types of bottles.  A regular old Wilton candy bottle, and small and large bottles that are made to be used with couplers.


For those of you interested in the bottles with couplers, this is how they work...

The set comes with a bottle, coupler, coupler ring, and a plastic tip which is approximately the size of a #3 opening.  I don't care much for the tips they come with, so I always throw them away them and use my own.


Here are the "lid parts" {I used my own tip}


All you do is connect the three parts just like on a piping bag, screw it onto the bottle, and you're done!


This type of bottle can sometimes be found in local cake supply stores, but most often they have to be ordered.  Especially if you live in the boonies like I do, which brings me to these...

Wilton squeeze bottles


They weren't actually intended for cookies, but they work pretty darn well.

They come in three sizes, mini, regular and large, but its a weird system to me...by my standard the mini is regular, the regular BIG, and the large, HUGE!  But that's just me...
I'd tell you the exact measurements, BUT since it's not in the product info and I'm not in the experimenting mood...I'm going to make a guesstimate.  The mini holds about 6-7 ounces of icing, so the regular probably holds 10-12, and the large maybe 16?  Just a guess. 

The great news is, you can get the minis, which are my personal fave, at Walmart for about two dollars.

You will have to order the bigger ones from the actual Wilton site and you can find them {HERE}.

Wilton also makes a tinier set of 18 but I don't like them at all.  It almost takes an act of God to get the icing into them.  In my personal opinion, you are better off just buying the small coupler-type bottles.


HOWEVER if you want to try them, Karen's Cookies sells them {HERE}.  To save you a mess and tons of frustration, the best way to get the icing into them is to snip the end off of a pastry bag and use it as a funnel.

On the subject of tips, of my favorite Wilton bottle suggestion is this...For faster flooding, just snip off the tip. Works like a charm! {It was almost impossible to not overuse "tip" in that paragraph}


If I were to make a recommendation, I would suggest you buy mostly the Wilton type {from Walmart} and a ton of small coupler types.  These are the sizes I most often use.


I prefer the Wilton for flooding and use the smaller one for detail work.

I keep a few of the large coupler type on hand, just in case, but I don't use them as frequently as the others.

They also all come with nifty little lids so you can use them to store the icing in, although I wouldn't leave it in there for too too long...


If you need to stir them, the handle end of wooden spoons work great,


or good ol' chopsticks {thats my extra long pair from World Market}
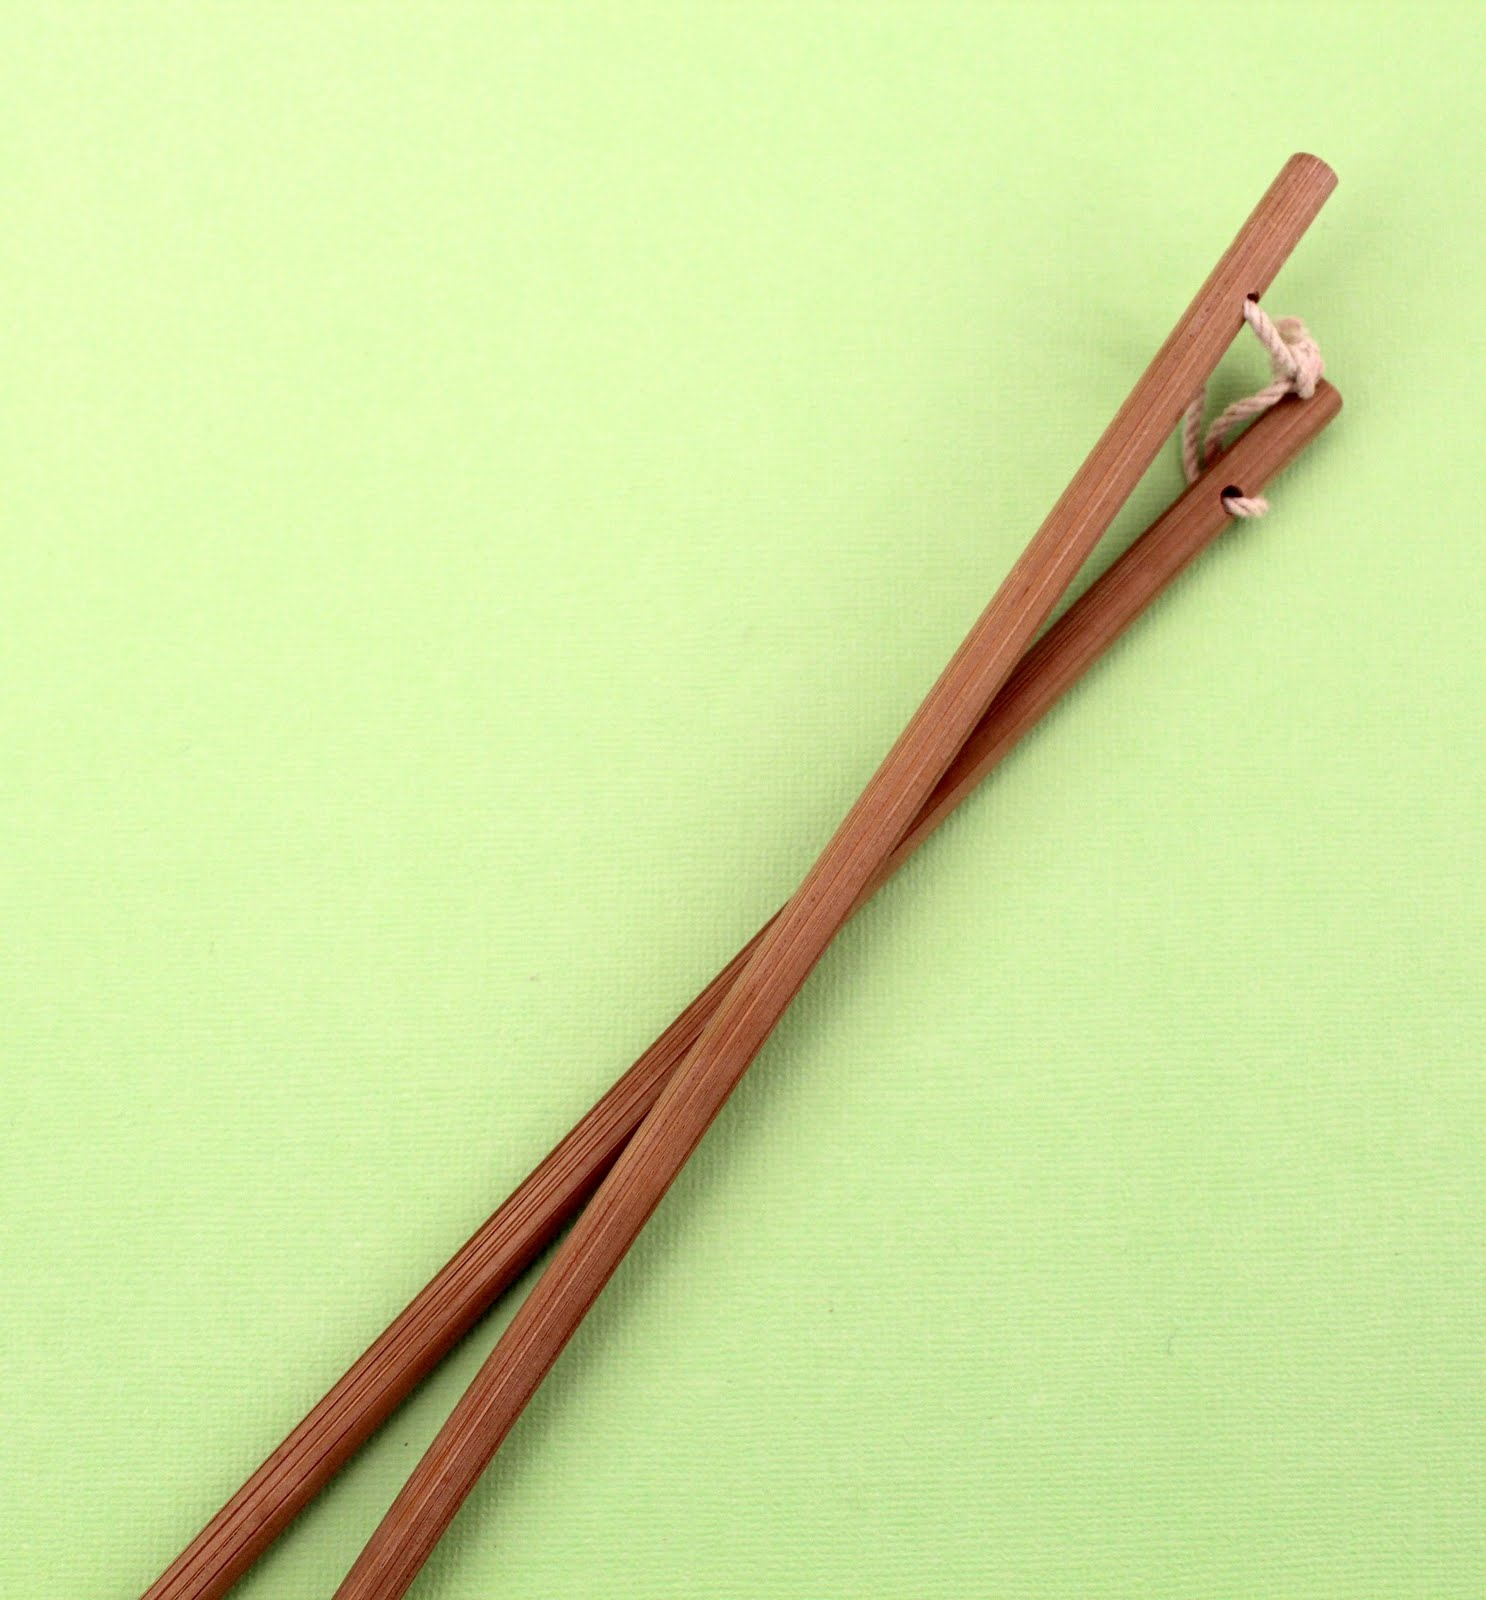

And when you are ready to wash them, nothing woks better than a bottle brush.  I go through TONS of these!


Icing bottles have not eliminated my need for a piping bag, but I absolutely could not do without them...

I use them for all flooding, and also for full on decorating with 20-second icing.

Now for the fun part...you can get these in a lot of places, so I am just going to make a list.  To find them, click on the shop and you will be taken directly to them.
I think that Country Kitchen has the best selection, however, they often sell out in ALL of these shops, so you may have to look around. 

There are also other places to get them, I just listed my favorite shops.  So, if you prefer to shop elsewhere, they are most often found under candy making tools and supplies.

This is all that I know about icing bottles *I think*

If you need help filling them, check out this little video.


I have an embarrasing number of these things because I LOVE them and they really really work for me!  I hope they work as well for you too!


*This post has been edited from the original

I am sad to say my WFMW tip resulted in the demise of an old beloved friend, Fanny, who until yesterday, was nameless...


RIP, Fanny, 2001-2011

When I first posted this I used pictures of my old fan, which was what I called "dirty" as in scuffed and gray from 10 years of use {including painting, which explains the light misting of birkshire beige, and outdoor barbeques, garage sales and more} He was also rickity and dingy beyond repair.  I wasn't worried about it, because it was what I considered wear and tear dirty, rather than "DIRTY" as in filthy. 

I appologize to anyone who I might have offended, and I will take better care to choose my words and appliances a little more carefully in the future.  That being said, by the previous comments, I feel like the photos detracted from what really is a very good piece of cookie advice, so, I went out to Walmart and picked up some new fans, and I am editing this post to include mostly photos of the new fan, aside from the one above.  So, here we go again...

This is the view into my former dining room on any given day.


As they dry, I just aim the fan at the cookies.  Not only does it speed up the process, it also gives them a nice sheen {obviously tis is a re-enactment}


I had to dig into the archives {I am proud to say that these were pre-Kopy Kake} for a good example of why I love my fan.  This is a very good visual of my idea of the "perfect" icing finish.


Not quite matte, but not rock hard shiny. 

Now don't go blasting your cookies...no one likes a hurricane. A nice medium to gentle breeze will do.

  I love this little trick, and I don't think my cookies would be the same without it.  It works for me, and I hope it works for you too!


For anyone who might be offended by this post, I'd ask that we agree to disagree.


Do you know what this is?  I am not sure if this tip is smart or shameful, but it works for me, so I'll share...


This is pretty much the "I live in the middle of nowhere" version of this...which also happens to cost about twenty-five dollars, BEFORE shipping!


The story of this contraption goes pretty much like this...
One evening while baking, I was talking on the phone with my friend Jenni {who happens to be very patient with the mixer running in the background}.  As usual, when I got to this point, I did that thing I tell everyone else NEVER to do...


Instead of adding the flour cup by cup, I dumped in the entire bowl.  Not long after that, Jenni got an earful of my most delightful fun words as I powdered my kitchen.


After explaining myself, her mom, Carol, who heard Jenni's half of the exchange, suggested a little tip she'd picked up during her years in the kitchen.


Pretty nifty, huh! I just took one of the lids from my dollar store stacking bowls, and used regular old scissors to cut out a space for the beater.

At first, I guessed what size opening to cut by using a sewing tape to measure how far in the paddle rested from the edge of the bowl.  Then, I tried it out and adjusted it until it was perfect.

You do have to hold it down while you are mixing, but from start,


to finish, it REALLY does a GREAT job of preventing a mess.


After you're finished, slip it off, pop it into the dishwasher, and you're done!


Perfect dough, hardly any mess!


The best part is, this little set of bowls {pictured below} will only set you back about five dollars, which leaves you with three extra bowls and twenty dollars {more if you count shipping} to spend on the fun stuff like cutters and disco dust, and all that stuff that raises the husband's eyebrows.
Like Carol, it's a little unconventional, but it worked for her and it definitely works for me!  I hope it will work for you too!


There are actually tons of things you can do with it, but this is what I happened to be doing today, so this is what you get =)

When I first began making flower cookies, I flooded the cookie, waited eight hours until it was dry, and then added the centers.  Then one day, I got wise.  I came up with a time saving method that is also a good way to use leftover icing.

First, use painters tape to secure a piece of wax paper to a cookie sheet {painters tape because it is easy to remove without destroying whats on the paper}


Then, using flood consistency royal icing, which should be about like shower gel, maybe a little thicker, drop evenly sized rounds onto the sheet.


If you want a little sparkle, let them sit about ten minutes or so, then sprinkle them with a little something pretty.  This time I used sanding sugar.

Let them dry overnight or longer...


This is what they look like after they have dried.  I used non-pareils on this batch. 


Aren't they pretty?  And if you wait as long as you are supposed to, they peel off perfectly.


This is what I like to use them for.  It's such a time saver, because instead of waiting hours for the first layer to dry and then hours again, I just do it all at once and eliminate a step.

Plus, you already know they are perfect beforehand, so there are no worries about wonky centers.

The only thing I will warn you about is this...You only get one shot to drop them on nicely without making a mess.  So, be careful.  Oh yes, and if you do mess up, you can always move them around with a toothpick. {Not that I know from experience or anything}


If you don't have any leftover royal icing, it's still easy to get perfectly round centers on your flowers.

Use the same thick-ish icing and starting in the middle squirt a little blob,*I'm so technical* and then spread it out by using the icing tip and swirling it in a circular motion until it is as big as you'd like.

If you want it sprinkled, same rule as before.  Let it firm up a tiny bit, and then sprinkle it =)

Not only is it good for middles, it's good for Loren's ribbon roses and regular royal icing roses.

And now y'all know what I do in my spare time!


If you don't already do this, you SHOULD.  Pre-made royal icing accents can get pretty pricey.  If you do it yourself, you have all the fun, without spending the dough!

*I should have said this before, but the little decorations last FOREVER...well not really forever, but there's no expiration date.  You will get weirded out and end up throwing them away before they actually go bad.

They do however, fade.  Keep them in a cool, dark, non-humid place because moisture and light are the enemy of royal icing decorations.

And I have heard some say NEVER to store them in airtight containers, and some say that they MUST be in a container...I don't really know enough to say honestly.  I have done it both ways.  The ribbon roses have been out since Valentine's day.  But I also live in the desert.  SOOOOOO, I'd say if you live in a dry climate, no worries.  If you live in Seattle or something, leave 'em out and let me know, because it hasn't rained here in four months, and I am not sure it's going to =(


Tidy Mom